New product launch comming soon...
A Step-by-Step Guide to Measuring Your IEMs with an IEC Coupler
SK AUDIO ARTICLES
4/20/20242 min read
Step-by-Step Guide: How to Measure Your IEMs with an IEC Coupler
If you're an audio enthusiast or a musician, you probably know the importance of accurate measurements when it comes to In-Ear Monitors (IEMs). One of the most common methods used to measure IEMs is with an IEC coupler. In this step-by-step guide, we'll walk you through the process of measuring your IEMs using an IEC coupler.
Step 1: Gather the Required Equipment
Before you begin, make sure you have all the necessary equipment. Here's what you'll need:
An IEC coupler
A measurement microphone
An audio interface or sound card
Measurement software (such as Room EQ Wizard or ARTA)
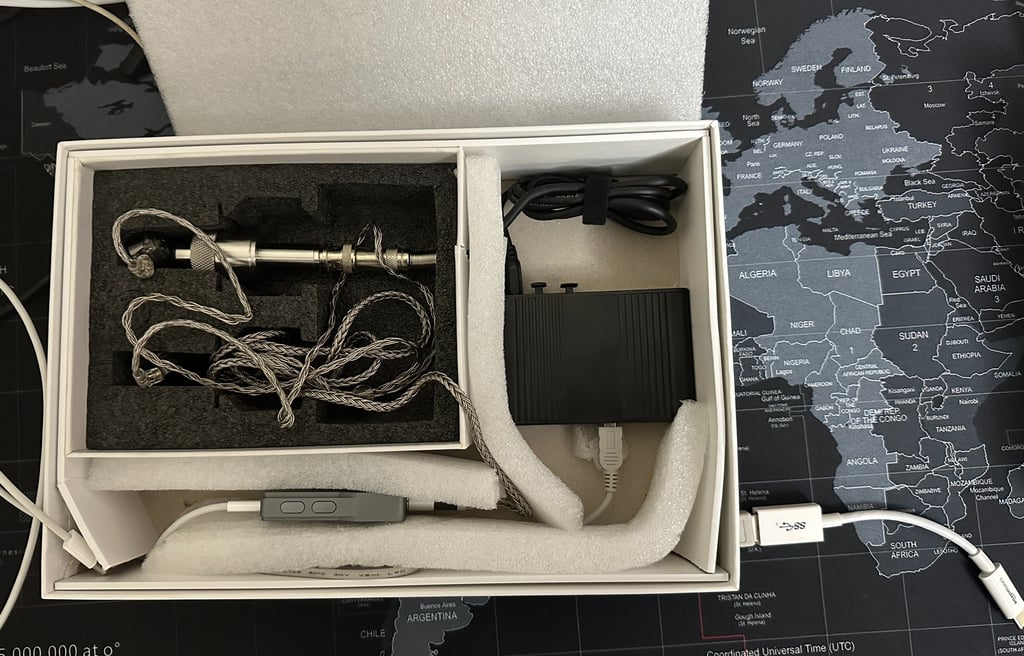
Your IEMs
Step 2: Set Up the IEC Coupler
Start by connecting the IEC coupler to your measurement microphone. Ensure that the connection is secure and tight. The IEC coupler acts as a standardized ear simulator, providing consistent and accurate measurements.
Step 3: Connect the Measurement Setup
Connect your measurement microphone to the audio interface or sound card using an appropriate cable. Make sure the connection is secure and that the microphone is properly positioned within the IEC coupler.
Step 4: Launch the Measurement Software
Open your chosen measurement software on your computer. Set the input to the audio interface or sound card that you've connected your measurement microphone to.
Step 5: Calibrate the System
Before you start measuring your IEMs, it's essential to calibrate the system. Follow the instructions provided by the measurement software to calibrate the microphone and audio interface. This step ensures accurate and reliable measurements.
Step 6: Place the IEMs in the IEC Coupler
Now it's time to place your IEMs in the IEC coupler. Ensure that they fit securely and snugly. This step mimics the way the IEMs would fit in your ears and provides consistent results.
Step 7: Start the Measurement
Once everything is set up and calibrated, start the measurement process in your software. Follow the software's instructions to initiate the measurement. The software will generate a frequency response graph, showing the sound signature of your IEMs.
Step 8: Analyze the Results
After the measurement is complete, take a close look at the frequency response graph. Analyze the results to understand the strengths and weaknesses of your IEMs. Look for any peaks, dips, or irregularities in the graph that may affect the overall sound quality.
Step 9: Make Adjustments (if Necessary)
If you're not satisfied with the sound signature of your IEMs, you can make adjustments. This can be done through equalization or by using different ear tips to alter the fit. Experiment with different settings and configurations until you achieve the desired sound.
Step 10: Enjoy Your Optimized IEMs
Once you're happy with the measurement results and any adjustments you've made, it's time to enjoy your optimized IEMs. Whether you're using them for professional monitoring or personal listening, you can now experience the best possible sound quality.
By following this step-by-step guide, you can accurately measure your IEMs using an IEC coupler. Remember to take your time, follow the instructions provided by your measurement software, and make any necessary adjustments to achieve the desired sound signature. Happy measuring!
Contact: sibykdxb@gmail.com
Copyright © All rights reserved.